STEP D
Insert and Attach Velostat Inside Hat
Insert the first sheet of Velostat into the hat and tape it to the hat with four or five strips of tape by the following method:
- The back of the pattern is flatter than the front. Measure the back with a ruler and determine the center of the Velostat sheet.
- You will fill four or five platefuls of tape strips during the construction of the thought screen.
- Place two strips of tape on the back side of the Velostat, one strip 1/2" to the left of the center and one strip 1/2" to the right of the center. Place about half of the strip on the Velostat.
- Place the other half of each strip to the back of the hat.
- Push the Velostat into the hat with your hand. Make sure the Velostat touches the inside top of the hat.
- With the Velostat inside the hat, pull the hat and the Velostat over your head. It may take several tries to do this successfully. It works best if you put the hat and Velostat on the back of your head and pull it forward over your head.
- Once the Velostat is as flush to the hat as possible, pull the hat and the Velostat off your head.
- Trim the excess Velostat about 1/4" from the sides of the hat.
- Pull the hat and the Velostat over your head again to check how it fits. When you remove the hat and Velostat, hold the Velostat to the hat with your hand so it doesn't slip out of the hat.
- If you are sure that the Velostat is as close to the hat as possible, trim it up to the edge of the hat with a scissors. If you are not sure that you got the Velostat flush to the hat, remove the hat, push the Velostat back into the hat and put the hat over your head again for another try.
- Secure the Velostat sheet to the hat with 4 or 5 strips of tape on the front and 3 or 4 additional strips on the back of the hat.
- You can place one or two strips of tape on the sides of the hat to hold the Velostat, but final taping of the sides is done last.
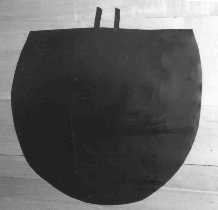
Put two strips of tape in the center section of the back of the Velostat sheet. Use an 18" ruler to determine the center of the sheet.
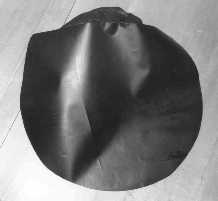
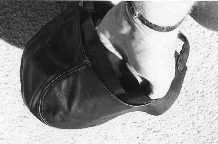
Put the Velostat into the hat, then pull the helmet and the Velostat over your head to seat the Velostat inside the helmet. Repeat this procedure for every sheet of Velostat you install into the helmet.
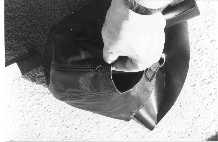
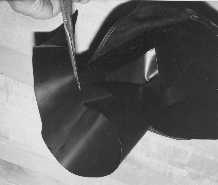
Don't trim it flush the first time. After you have made an initial trim leaving some extra slack, try on the helmet again to make sure that the Velostat is into the helmet as far as it will go, then remove the helmet and do a final trim the second time.
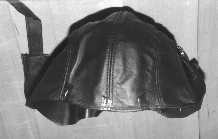
Make sure that the Velostat is as snug to the inside of the helmet as you can get it. Make the Velostat flush with the edge of the helmet.
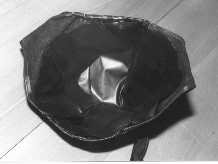
Hat with first sheet of Velostat installed and taped.

